Thursday, February 28, 2019
Sunday, October 2, 2016


Monday, September 12, 2016
Wednesday, August 31, 2016
go surf
Me encanta la VW California, me pierden los dinosaurios y no podría pasar sin tocar la playa por lo menos una vez al año. Y cuando se acaba el verano, empiezo a desvariar con todo a la vez! Y este es el resultado!
I dig VW Cali van, I adore dinos and I simply have to feel the sea at least once a year. Then, when Summer comes to an end, I start to goof around with these three ideas, and this is what comes out of it.
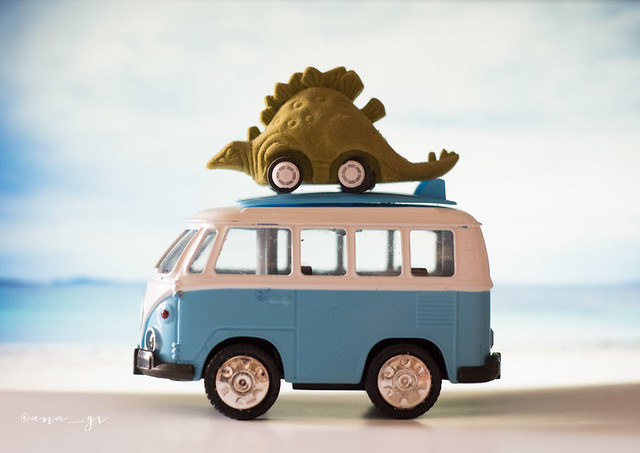 and here's the making of, simple as usual!

and here's the making of, simple as usual!

Friday, July 29, 2016
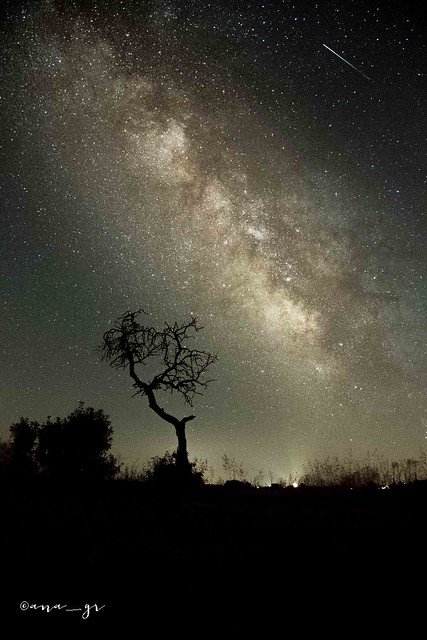
nocturnas
Con este calor es inevitable atrincherarse todo el día en casa, como un topo. Y por la noche, cuando ya se puede respirar, salir es una necesidad. Y como consecuencia, fotos nocturnas. Adaptación al medio.
Heatwave means staying at home and not moving at all! Then, at nighttime, when things get a little bit easier, going out is a must; then pictures must be nightsapes, obviously.
Ahora encuentro la Vía Láctea
Now I'm able to locate and enjoy the Milky Way
 Y hago todo tipo de probatinas, con luz, luces, siluetas, lo que se tercie.
And now it's all about trying different things and fiddling!
Y hago todo tipo de probatinas, con luz, luces, siluetas, lo que se tercie.
And now it's all about trying different things and fiddling!
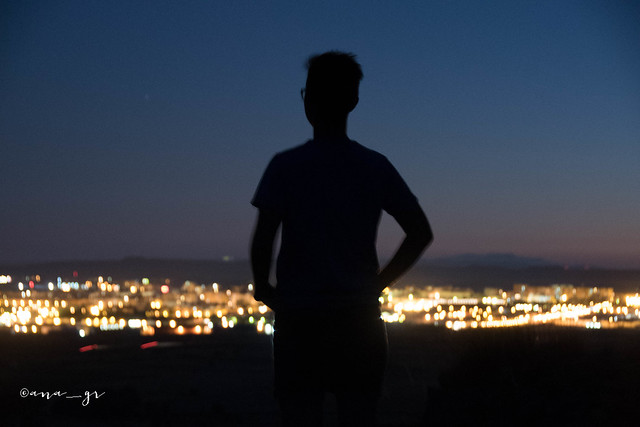

Y hago todo tipo de probatinas, con luz, luces, siluetas, lo que se tercie.
And now it's all about trying different things and fiddling!

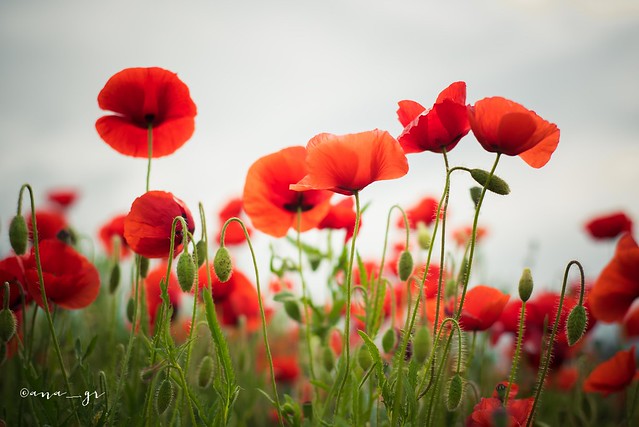
Saturday, May 7, 2016
then, poppies
quería escribir amor y pintar amor y respirar amor; y tambien luz, y emoción y felicidad. Y de repente todo se volvió gris.
por suerte salieron amapolas allí donde miraba, y calmaron su corazón herido.
y eligió el rojo.
she wanted to write love, and paint love, and breathe love; and emotion, and joy too. And then it all turned gray.
thankfully poppies blossomed everywhere to soothe her broken heart.
so she chose red.


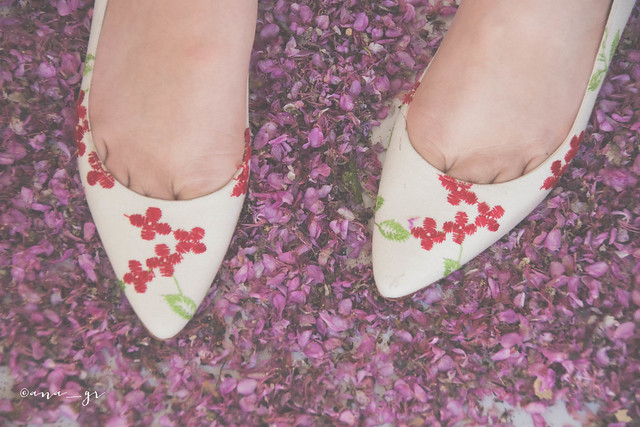
Monday, May 2, 2016
la primavera nunca decepciona / Spring will never let you down
Te han decepcionado y te duele por que sabes que no hay vuelta atrás, que ya nunca será lo mismo. Sin embargo, respiras hondo y sonríes; has aprendido a sonreir y sabes que nunca falla, que ni la sonrisa ni la primavera te fallarán jamás.
when someone lets you down, it hurts because you know it will never be the same again, there will always be scars to remind it. But even in your disappointment, you take a deep breath and smile; you know it works. Neither the smile nor spring will ever fail you.
Subscribe to:
Posts (Atom)