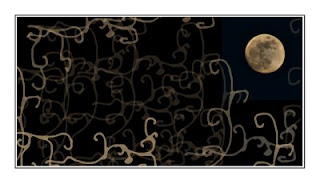
Brushes are just fascinating. And you can find the most beautiful, the most creative ones, available for you to download, just googling for "free brushes".
But I wanted to create mine, my own set of brushes.
First I tried vector shapes, only to end up rather disappointed, leaving it for next time at Fireworks or some similar software.
So I went for the easy way: Just draw, and convert into brush, with minor adjustments.
To start with, as always, create a new document, and start drawing the lines and shapes that you'll want your brush to reproduce.
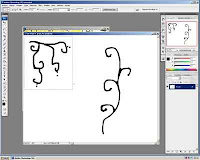
When I had the set that I liked -a shape for corner, one for horizontal display and one for vertical. Once you have started, my advice is to do all the set, for all the possible needs, I mean, four corners, separate small motive, long one, etc.
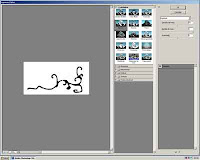
In order to make them nicer I used a Photoshop filter, in the artistic group. Try different filters for different aspects.
Now we're almost done. Select each shape, using any selection tool, I used the rectangle tool. Once you have selected one, convert it into a brush, in edit> define brush values:
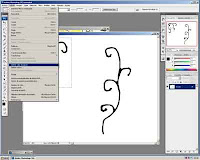
Give it a name. Really this step is not important, as it will be given a number by PS, and you'll find it and the end of the list of brushes.
Anyway, I always do, I always give my brushes their proper name.
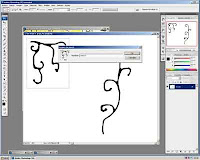
Then, your brush is ready to be used.
Open any photo, select your new brush, then check that you can play with its color, size, and opacity.
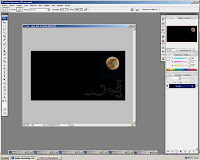
Using a low opacity, say 35%, you can modify the color. or its intensity: you click once, and you get a slight hue, click again and again, and you'll see the difference.
And this is it!
Next time I will have investigated about vectors.
No comments:
Post a Comment