Monday, September 26, 2011
it's my birthday
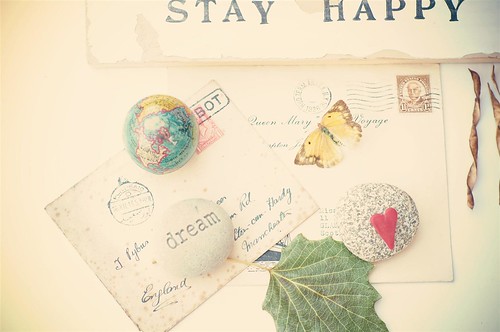
It's my birthday. I am not particularly enthusiastic about it, but this year I feel strangely fresh inside, which must be the symptoms of age...
And I want to stay happy, to dream, to fly, to love, to go to dream places, to care my loved ones, and sometimes to be on my own, to fly solo, to just feel the wind alone.
Es mi cumpleaños. No es algo que me entusiasme, pero este año me siento extrañamente nueva, lo cual quiere decir que me estoy haciendo mayor...
Y quiero ser y estar feliz, soñar, volar, amar, viajar a mis sueños, cuidar a aquellos a los que adoro, y a veces estar sola, ir a mi aire, sentir el viento en mi cara sin nadie alrededor.
And I love sharing posts here:
Friday, September 16, 2011
de espaldas/ facing backwards.
otra vez ella:
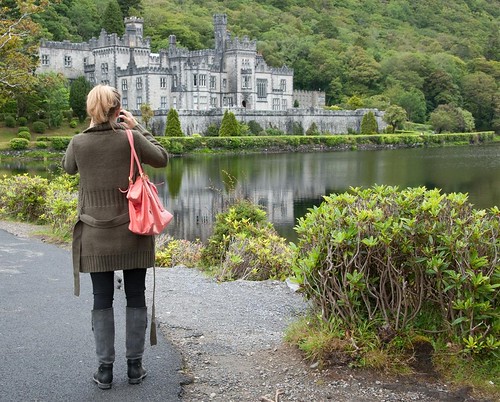
Kylemore Abbey, en Connemara, Irlanda.
Me encantó la elegancia de esta chica, parecía que se había arreglado para mi foto.
Y me encanta que Jackie haya convocado "personas de espaldas" en su Flickr de La Vuelta al Mundo.
Siempre me ha gustado fotografiar gente de espaldas. ¿Por qué? Por timidez. Me gusta fotografiar a gente por la calle, pero me cuesta un mundo hacerlo abiertamente o pedir permiso. Por eso, casi todos mis candids tienen personas de espaldas.
Ahora incluso pongo a posar a la familia de espaldas. Al principio preguntaban: "¿Cómo, de espaldas?¿no me quieres ver la cara?" "No, para esta foto no."
I loved the girl in the first photo; she was so chic. She looked as if she was posing for me.
And I loved Jackie's topic for this month at her Flickr group La Vuelta al Mundo: people facing backwards.
I like shooting people who are facing backwards. Why? Because I'm shy, too shy. I like street photography, I like candids, but I feel too shy to do so when people are looking at me, and I just can't ask for permission! That's why I find people's backs so perfect.
Now I even ask my family to pose this way. First they kept on asking "What? Backwards? Don't you want to see my face? " "Well, not really for this photo, dear".
mis dos chicos, de excusión un día de mucho mucho frio.
My two true loves, hubby and son, on a very cold day out.
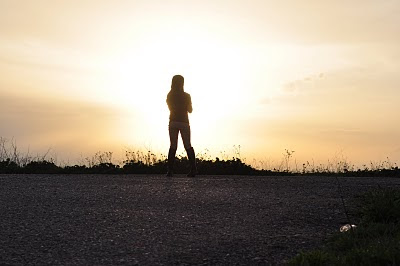
Y Julia, adorable Julia, siempre -casi siempre- dispuesta a posar como mami le diga.
Sweet Julia, almost always ready to pose for mum.
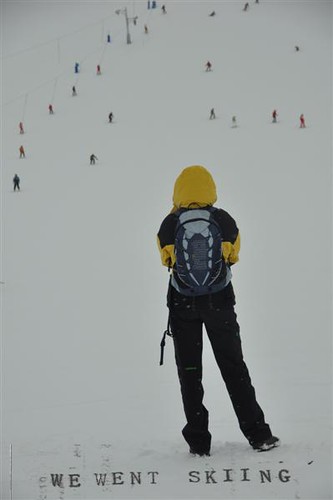
Ir todos a esquiar, pasarlo de miedo, y por supuesto, unas fotos.
Skiing all together, having a blast of a time, and of course, some photos.
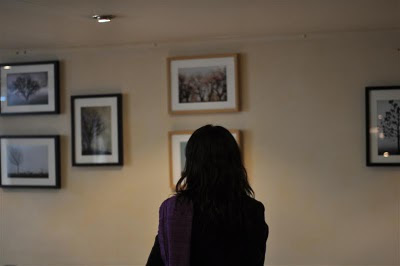
Mis árboles. Sí, expuestos en una céntrica cafetería. Emoción, orgullo y mucho vértigo. Los contemplo y se me llena de emociones cada centímetro.
My trees. Exhibited on a wall in a city centre café. Lots of feelings mixed, both pride and vertigo. I watch them and all these feelings start boiling. And I am so happy.
Esteban, el niño de mis ojos, admirando la velocidad del AVE.
Steven, my sweet love, admiring the speed of trains.
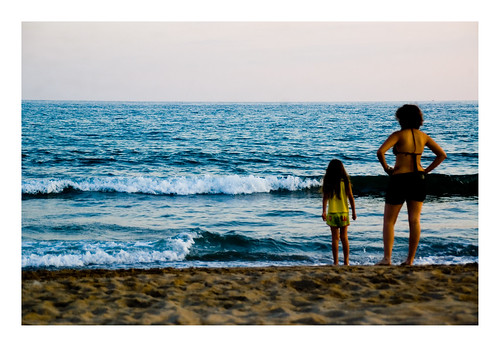
No me gustaban las playas de arena, sino las agrestes. Desde que tengo hijos y una cámara, estas playas arenosas y tranquilas son un "must".
I used to like wild beaches, sandy ones were so boring. Things changed the moment I became a mother and got a camera. Now quiet sandy beaches are a must go.
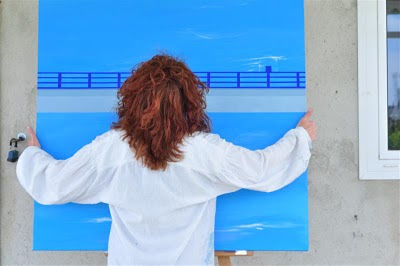
La artista, Martínez Carnicer, preparando una de sus magníficas obras para que yo la fotografíe. Un lujo.
The artist, Martínez Carnicer, getting one of her wonderful artworks ready for me to shoot. It was amazing.
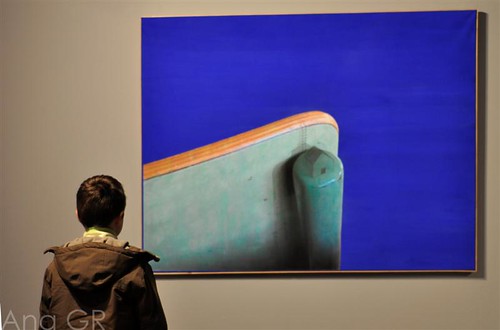
De nuevo, una obra de la artista, aquí admirada por la mirada fresca de mi hijo.
Her work again, this time, my son is admiring this awesome picture.

Sunday, September 11, 2011
Divas and Dreams workshop part 2/3
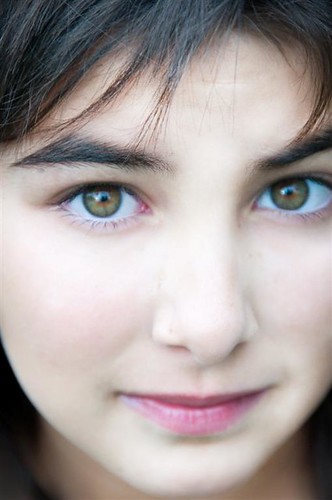
Image for assignment 5 Before:
And after:
I mostly dodged and burned, and also use heal brush and a bit of cloning in the eyebrows.
Swwet Shot Tuesday at life with my three boybarians!
And after:
I mostly dodged and burned, and also use heal brush and a bit of cloning in the eyebrows.
Swwet Shot Tuesday at life with my three boybarians!
Thursday, September 8, 2011
create a color palette
Hi!
These days have been a bit busy here!
Lately I have seen and admired those beautiful images which include a color palette. It adds to the photo. And I wanted to try myself.
Yes, there are palette creators online, but none was exactly as flexible as I wanted.
So I started mine. And here is the steps I followed using Photoshop.
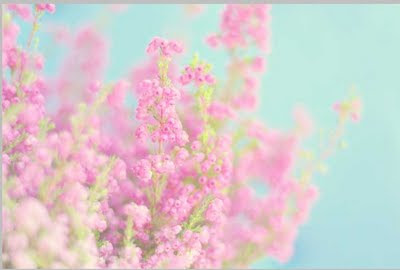
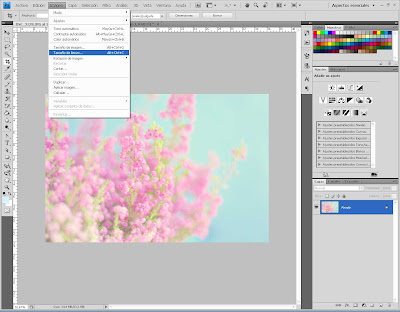
First I opened my original image in Photoshop. This is the photo:
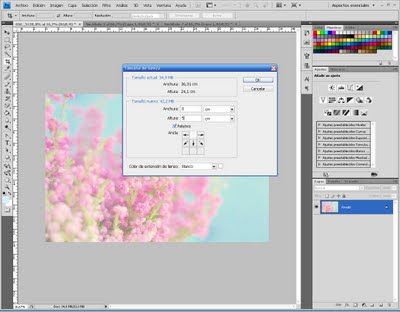
We start changing the picture size, to make room for the palette. I wanted it to be at the bottom, but on the right side would be perfect too.
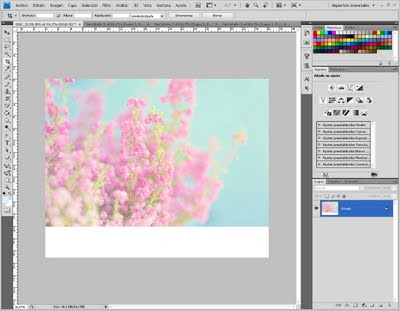
I added 5 centimetres of white space:
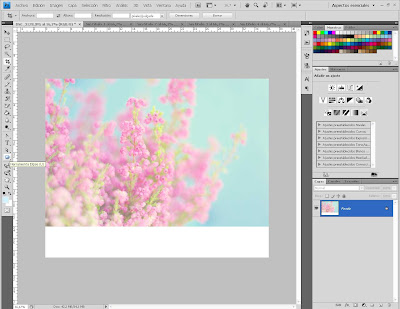
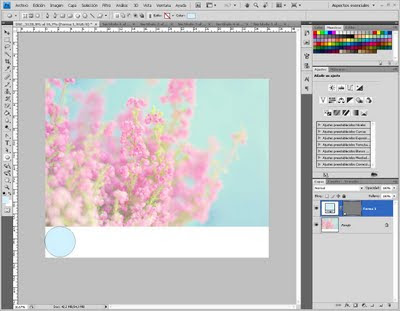
And there it is, the white band where i will put the colors.
Then I chose shapes to draw circles. The tool is ellipse; to make it circle just press shift key. Place the cross just in the croner of the white space to better situate the circle. Anyway, you can always move it using the move tool.
And there it is, first circle!
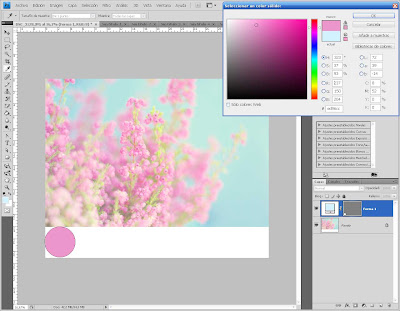
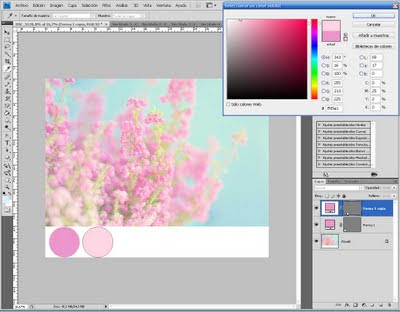
Now it is time to choose the color for this first circle. Click on the tiny scrren you have in the layers palette, on the right ot the workspace:
When you double click on that miniscreen, the color picker will open. When you move the pointer on your picture, it will change the color. Select the first.
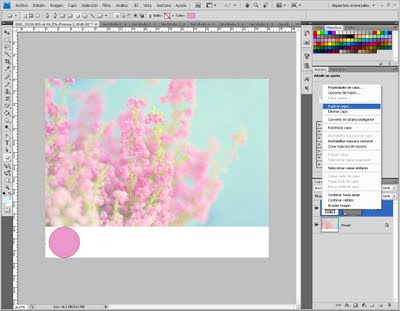
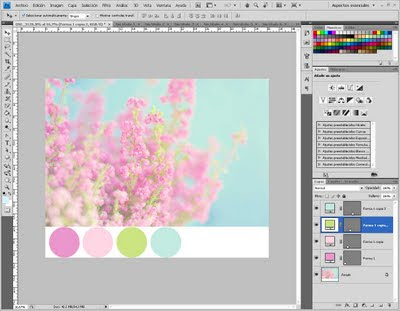
Once you have created the first color circle, let's go on for the next ones. You can create othger shapes, but the easiest is to duplicate the layer.
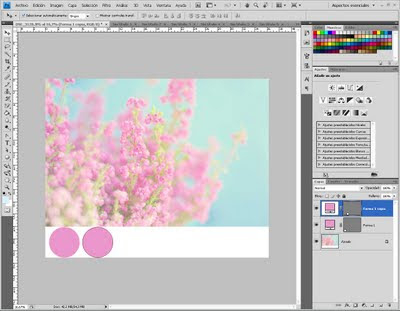
Once we have the duplicated layer, move the circle with the move tool -first tool on the left.
Now you can change the color inside the circle as we did before: double click on the shape screen and pick color.
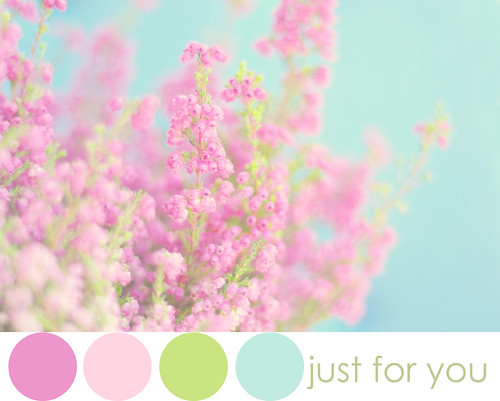
Create as many circles as you like.
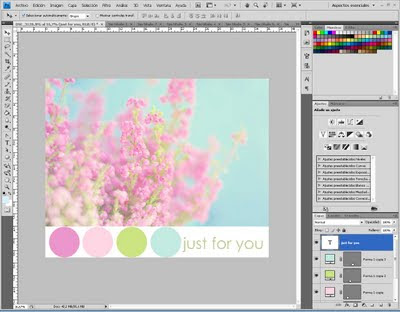
Finally I added some text using the reamining white space.
PS: There's a beautiful tutorial by Christina Greve at Divas and Dreams:Click here, it's worth! Christina is such an artist! I admire her work oh so much!
Etiquetas:
color palette,
how-to,
pastels,
photoshop layers tutorial,
soft
Subscribe to:
Posts (Atom)